Registering your Business

Registering your Business
- Click on register business link on the login page.
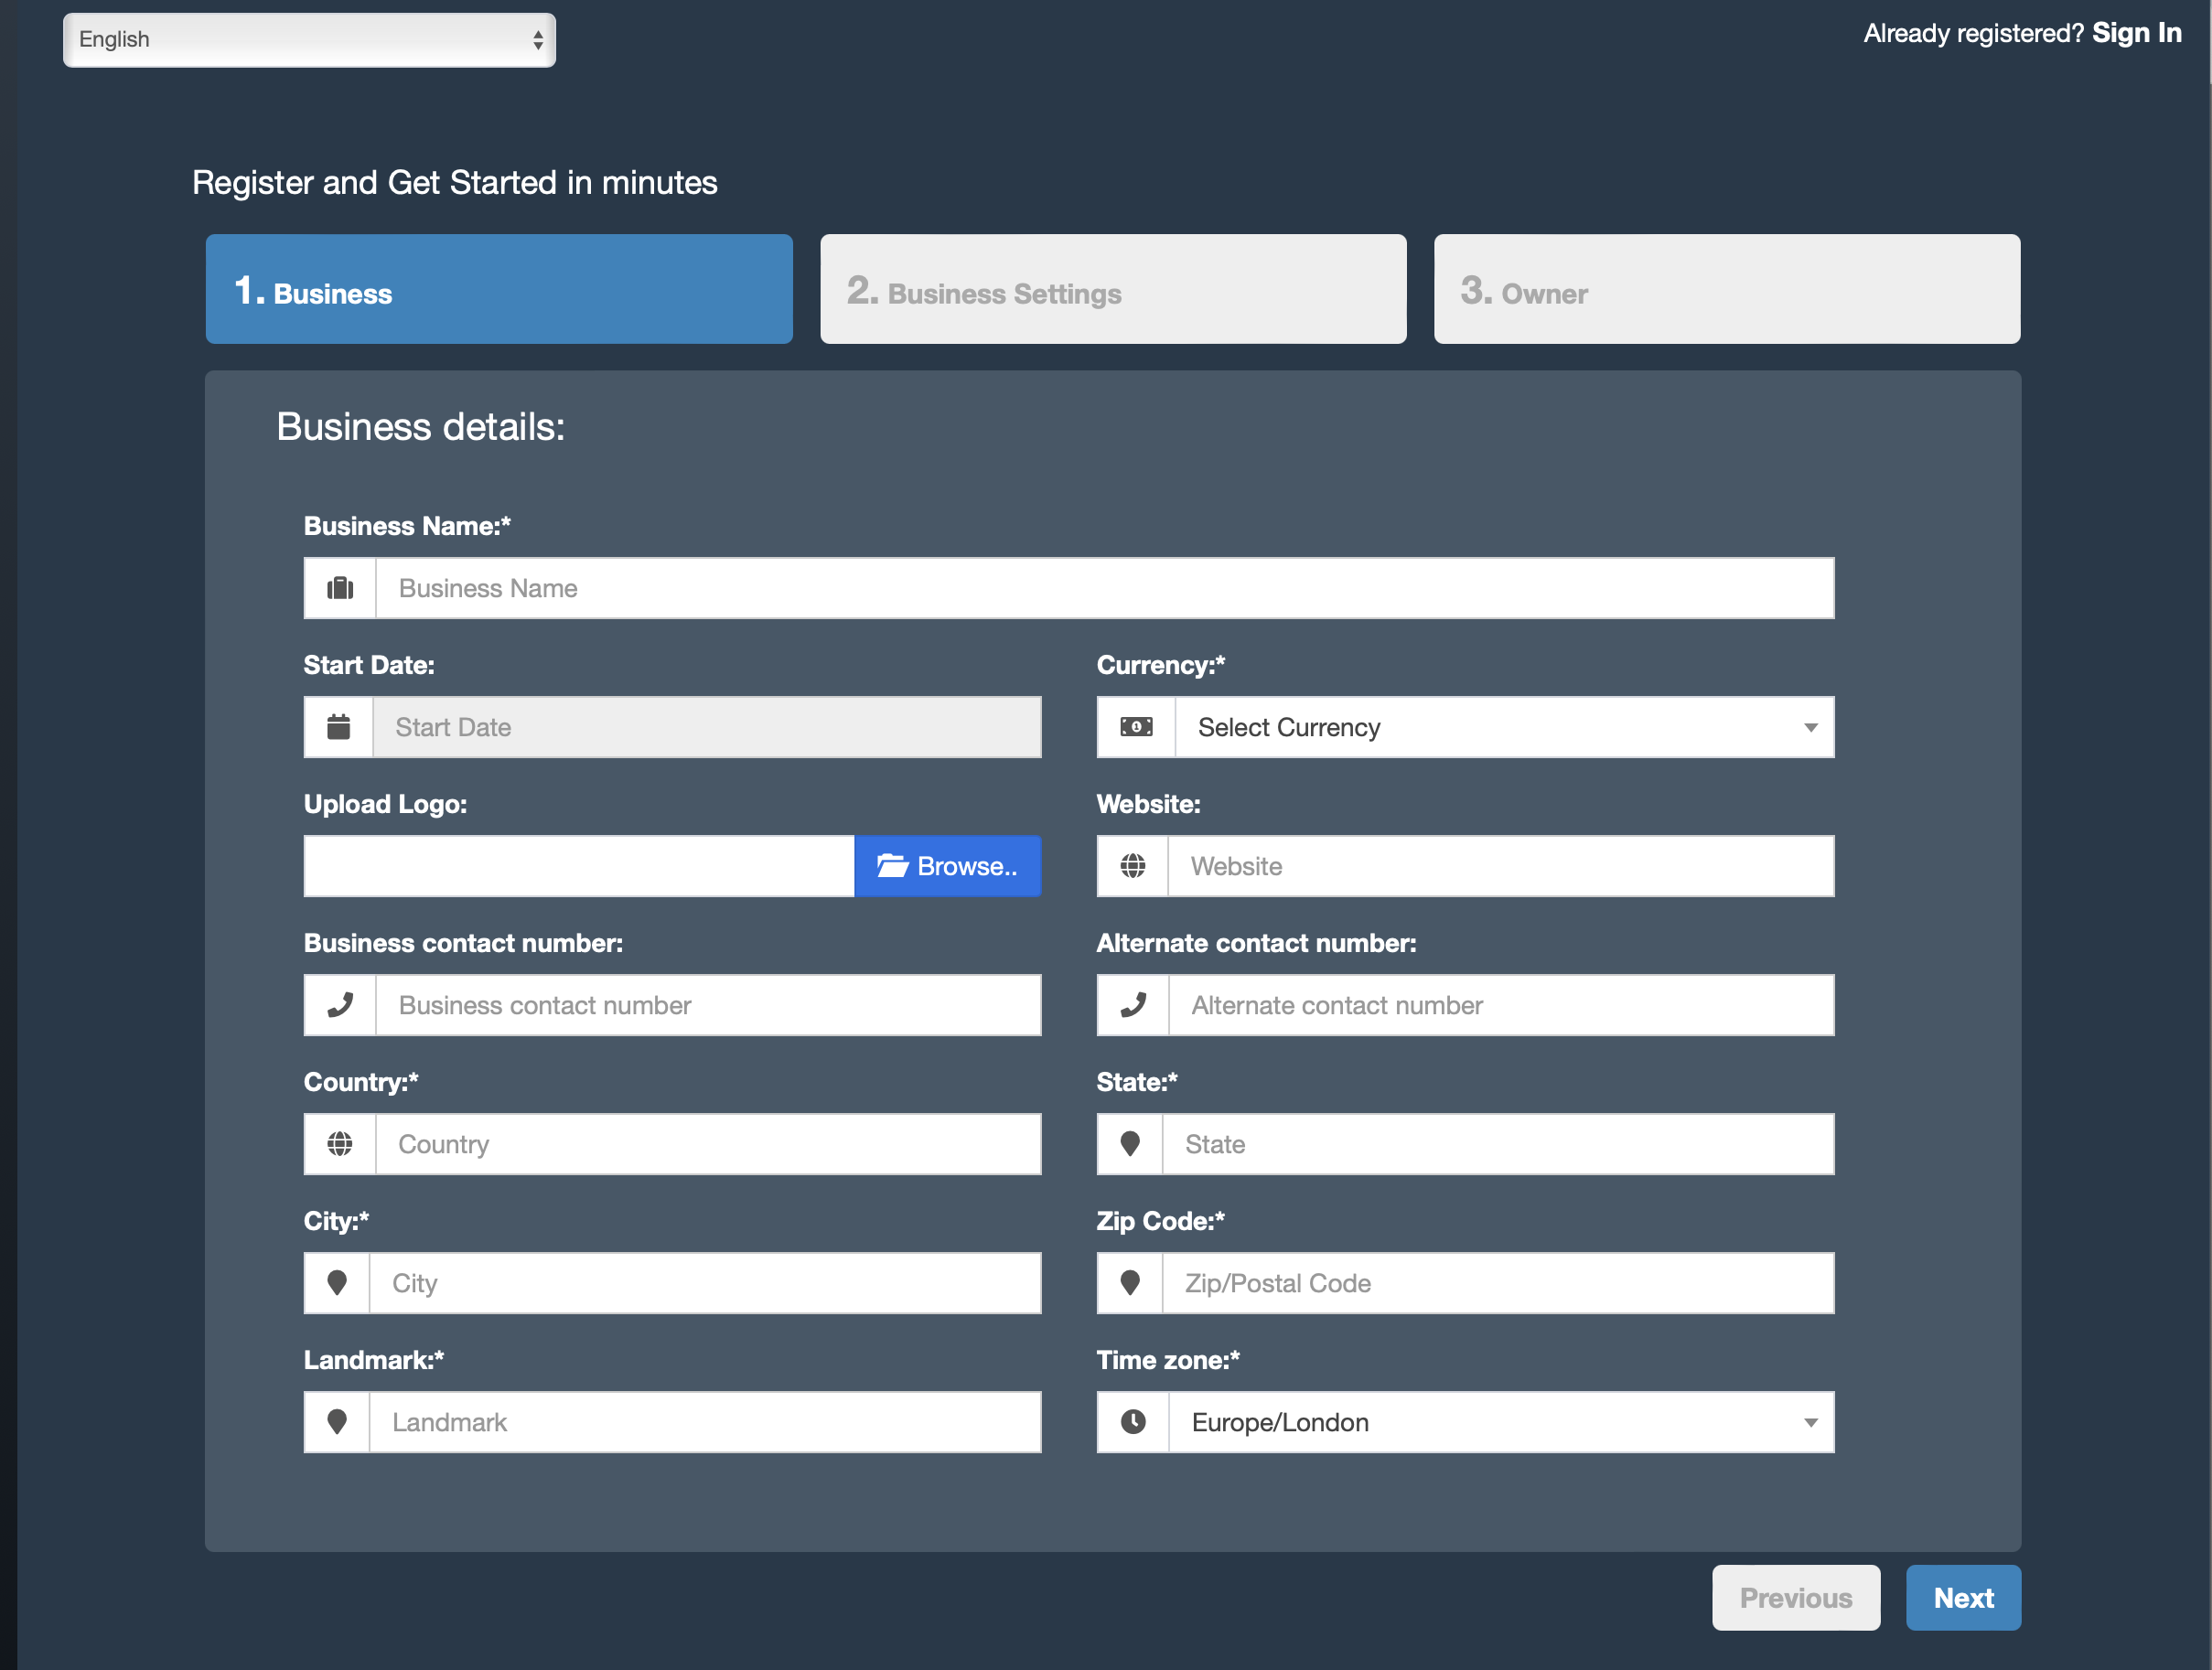
- Registering business involves multiple steps; Business Details, Tax details, and Owner details.
- Business Details: Fill out the relevant fields; select the appropriate currency & Time zone; click on Next. Time Zone & Currency can be different for different registered businesses.
- Tax Details: You should fill out at least one Tax name and Tax number. Tax is like GST/VAT which varies for different countries. Fill details & click on next.
- Owner Details: Provide asked details. Username & Password are used to login so make sure you remember them.
- The owner created during this registration will be admin of the business. More admin can be added/edited/deleted from user management section.
- Click on the register button and after successful registration, it will get redirected to login screen. Login with owner username/password created.
Note: You can change any of the above details in the business settings section.
Setting Business Multiple Locations or Ware House or Storefronts
LejaBook comes with the option to handle multiple business locations or WareHouse or Storefronts for your business.
A default location is added to the newly created business.
Invoice Scheme: Before creating a new location or storefront, you can define a new Invoice scheme or you can use existing invoice schemes. But having different invoice schemes for locations can help you to identify them.
Invoice Scheme is invoice number format.
Invoice Layout: If you wish to have a different invoice layout for the location then you should create an invoice layout before creating a new location.
You can always change invoice scheme & Invoice Layout for a Business location anytime.
- To create a new Business Location / Storefront or warehouse go to “settings -> Business Locations”
- Fill the business details.
- Choose an Invoice scheme & Invoice Layout for the location.
– When having multiple locations you will have to select the Location while adding purchases or in the pos screen.
- Inventory and transactions are managed separately for each location you create so that you can easily track and analyze them for each location.
Disabling Business Location:
To disable a business location click on Disable button present in List Business Location.
NOTE 1: After a business location is disbabled any users assigned to that business location must be assigned to other non-disabled business location.
NOTE 2: You must keep atleast 1 business location non-disabled. If all business location is disabled then the application will throw errors.